
Top 10 Tips for Beautiful Goldwork Embroidery

Goldwork embroidery is a delicate and intricate technique that requires patience, precision, and practice. Whether you’re a beginner or looking to refine your skills, these tips will help you achieve polished results and master this timeless craft.

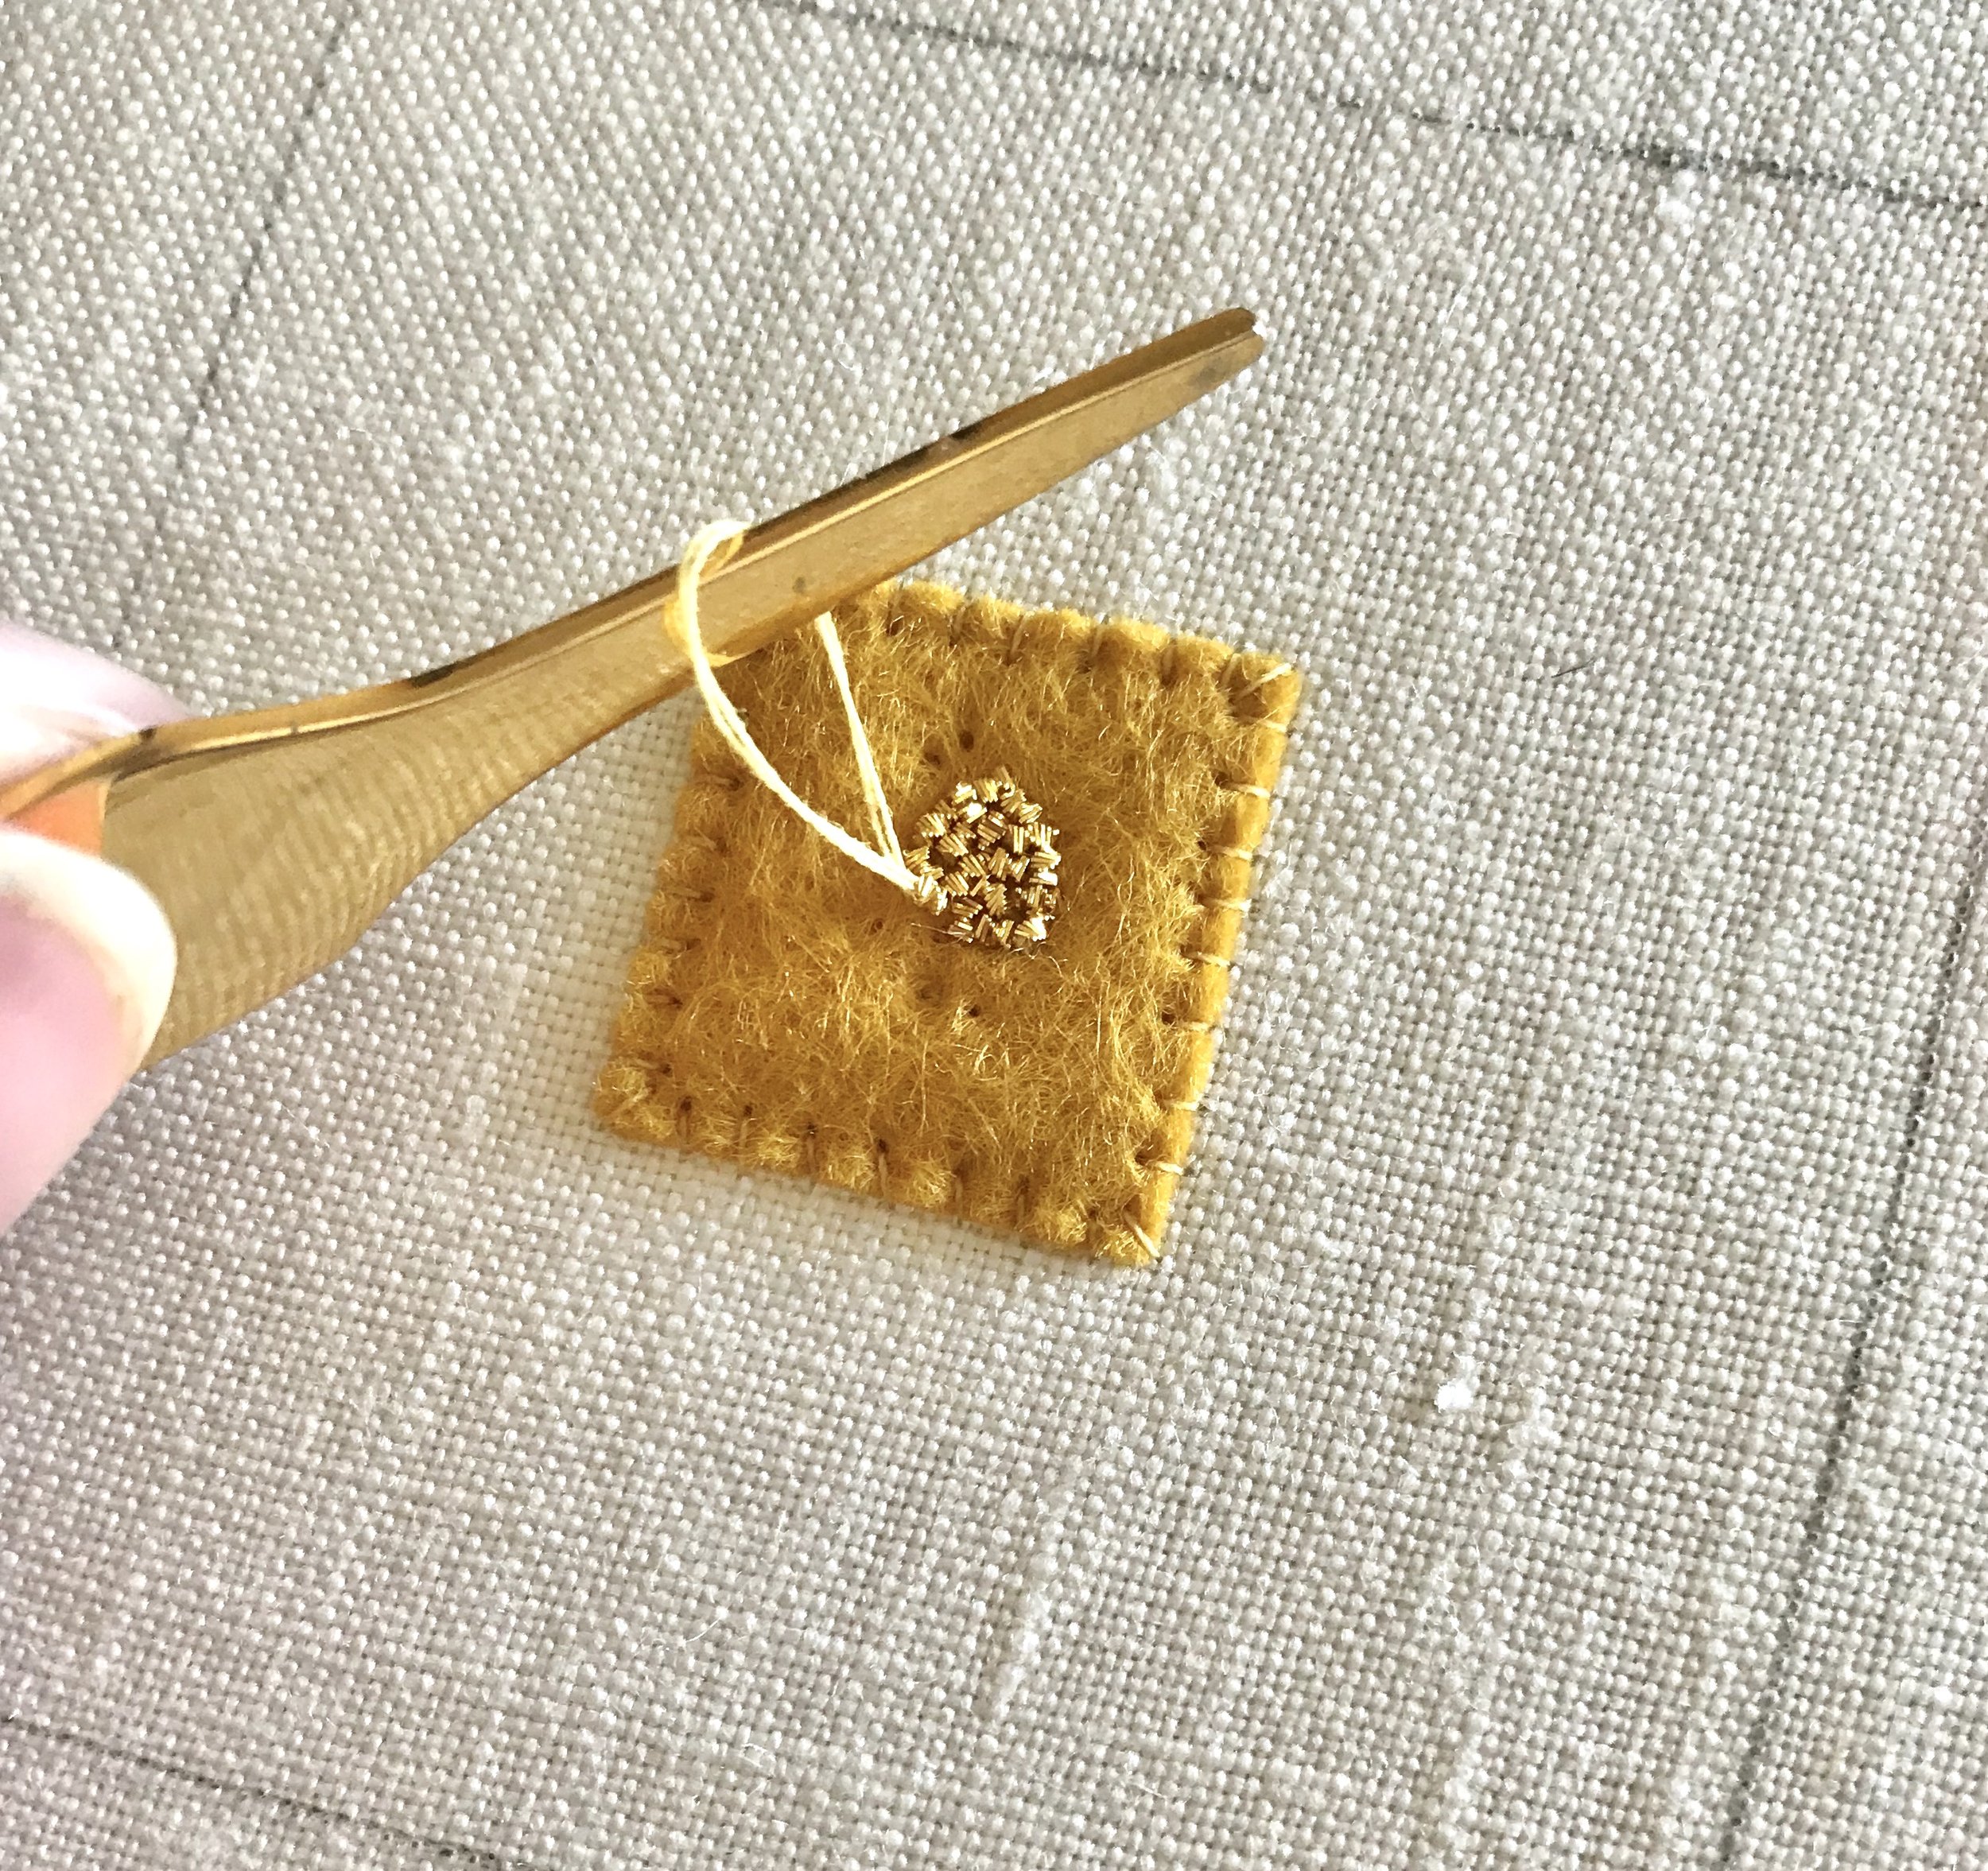
PERFECT YOUR PADDING
Padding is the foundation of many goldwork techniques, so it’s essential to get it right. Cleanly cut the padding to the correct size, and secure it with small, neat, stab stitches that firmly hold it in place. Always bring the needle up and down straight to prevent the felt from moving while stitching. Smooth padding ensures a seamless application of gold threads and creates a crisp finished result.
2. Store Metal Threads Properly
Metal threads are prone to tarnishing, especially those containing 2% gold. To extend their lifespan, store them in acid-free glassine bags, out of direct sunlight. Proper storage is essential to maintain the quality of your threads over time.
3. Wax Your Thread, but Wisely
Run your stitching thread lightly through beeswax to strengthen it and reduce fluffing. Be careful to remove excess wax before stitching to avoid unsightly marks on your fabric, particularly on delicate materials like silk. Always wax your thread away from your embroidery to prevent wax particles from falling onto your work.
4. USE A MELLOR FOR PRECISION
A mellor is an invaluable tool for smoothing out purls as you lay your thread. It prevents your threads from knotting and protects the metal wires from damage as you stitch. The flat end of the mellor is also excellent for smoothing out rows of Pearl Purl, helping you achieve consistent results.
5. Plan your design carefully
Sketch out your design and think through each step before starting. Things you should consider - What techniques work best in which area? What direction should the metal threads travel to ensure good directional flow? Is the design balanced, with solid and open areas so the individual techniques can shine? How high should the padding be for each individual area? A clear plan ensures you’re prepared for intricate areas and minimise mistakes.

6. MASTER NEEDLE ANGLES FOR COUCHING
The angle of your needle is critical when couching multiple rows of gold threads. For a second or third row, position the needle at a 45-degree angle towards the previous row, inserting it between the rows. This technique eliminates gaps and ensures tightly spaced rows for a professional finish.
7. Prevent Thread Unraveling
To keep the ends of couched gold threads from unraveling before plunging, wrap a small piece of scotch tape around the tip. Remove the tape just before plunging to maintain the integrity of your work.
8. Invest in Sharp Scissors
Sharp scissors are essential for cleanly cutting gold threads and wires. Dull scissors can fray or damage your materials, compromising the neatness of your work. Consider dedicating a pair of scissors exclusively for cutting metal threads to preserve their sharpness.

9. MAINTAIN CUTWORK ANGLES
Achieving consistent angles in cutwork is challenging but rewarding. When bringing the needle up, position it slightly away from the previous purl. When taking the needle down, angle it closer to the previous purl, keeping the needle parallel to the padding. Follow this rule: always bring the needle up at the larger angle and down at the smaller angle.
10. Practice, Practice, Practice
As with any intricate craft, goldwork embroidery requires practice to perfect. Start with simple designs to build your confidence and gradually progress to more complex patterns. Remember, even the simplest goldwork pieces can be stunning with proper technique, attention to detail and correct stitch thread/wire placement. Goldwork is not a craft to be rushed. Take your time with each step, and focus on accuracy rather than speed.
By following these tips and dedicating time to practice, you’ll develop the skills needed to create stunning goldwork embroidery pieces.